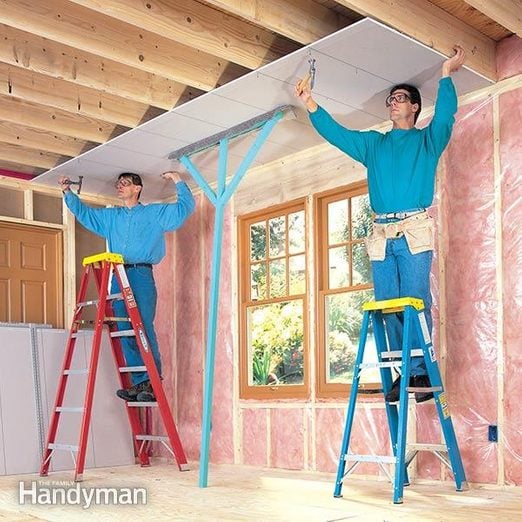
Transforming your home with a flawless drywall installation can elevate its aesthetic appeal and structural integrity. Whether you are renovating a room or building from scratch, mastering the art of drywall installation is key to achieving professional-looking results. Begin by gathering the necessary tools and materials, including drywall sheets, screws, joint compound, tape, a utility knife, a T-square, and a drywall saw. Measure the area to determine the amount of drywall needed, ensuring precise cuts for a seamless fit. Next, prepare the space by clearing any debris and ensuring the framing is sturdy and level. With the preparation complete, it is time to hang the drywall. Start from the ceiling and work your way down, positioning the sheets horizontally with the tapered edges facing up. Use a T-square to guide your cuts for accuracy, and remember to leave a small gap between sheets to accommodate for expansion. Secure the drywall to the studs with drywall screws, ensuring they are sunk slightly below the surface without breaking the paper.
Be mindful of electrical outlets and switches, cutting openings as needed with a drywall saw. Once the Drywall Installation In Worcester, MA is in place, it is time to tackle the seams. Apply a thin layer of joint compound along the joints, embedding drywall tape to reinforce the seams. Smooth out any excess compound with a drywall knife, feathering the edges for a seamless finish. Allow the compound to dry completely before sanding the surface smooth, taking care to blend the seams with the surrounding drywall. With the seams concealed, it is time to add texture to the walls if desired. Texture not only adds visual interest but also helps disguise imperfections in the drywall. Popular texture options include orange peel, knockdown, and popcorn, each achieved through different techniques such as spraying or troweling on joint compound. Experiment with samples to find the texture that best suits your aesthetic preferences.
Once the texture is applied and dried, it is time to prime the walls. Primer not only seals the surface but also ensures better adhesion for the final coat of paint. Choose a primer specifically formulated for drywall, applying it evenly with a roller or brush. Allow the primer to dry completely before applying your chosen paint color. With the final coat of paint applied, step back and admire your handiwork. A perfectly installed drywall not only enhances the appearance of your home but also provides a durable and long-lasting surface for years to come. By following these step-by-step instructions and exercising patience and precision, you can achieve professional-quality results and transform your home into a space you will be proud to show off. Whether you are a seasoned DIY enthusiast or tackling drywall installation for the first time, with the right tools, techniques, and attention to detail, you can master the art of drywall installation and elevate the look and feel of your home.